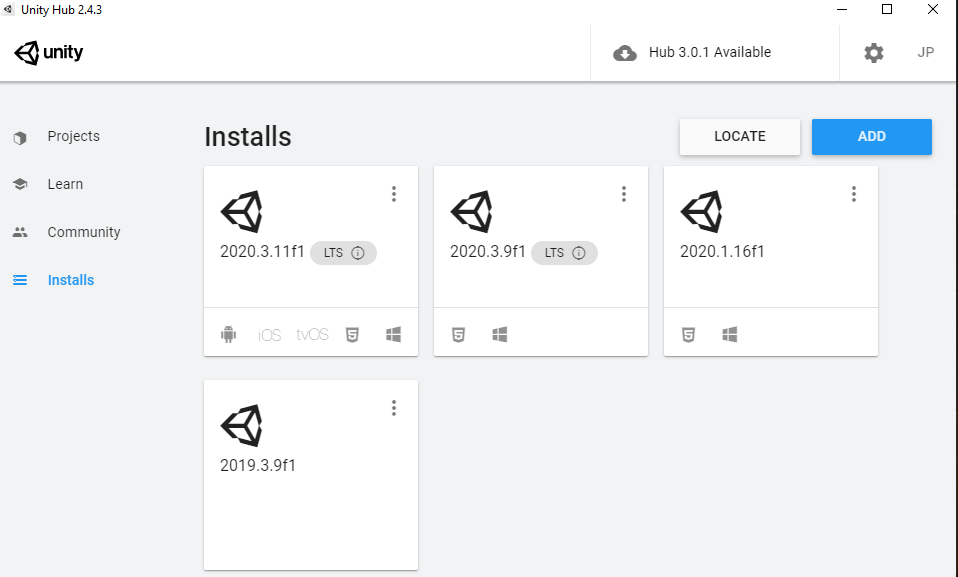
To start, you’ll want to grab Unity; the Personal version is free and comes in a variety of ‘flavors’.
Get it here. You’ll be downloading the Unity Hub from which you can then choose a version.

Stick to the LTS versions; LTS means Long Term Support. Basically, these are stable versions that will receive fixes and updates.
When you choose a version and install it, you’ll want to open the Hub again and click the blue “New” button to start a new project. Name your project and set the template to “3D”.
You’ll enter the Unity Editor and have to wait a while as your project is generated. While you wait, go to the Unity Asset Store (FOR SOMETHING FREE) and click the Standard Assets Pack (It might have a thumbnail that looks like a model-kit). Add that to your assets.


When that’s finished, go to Window/Package Manager. Choose “My Assets” in the filter then choose the Unity Standard Assets (type “Standard Assets” into search if you have lots of assets) pack. If you don’t already have it, click “Download” on the bottom right. When that’s finished, import the Cameras, Characters, CrossPlatformInput, and Vehicles packages into your project. I recommend you also tick the Environment and ParticleSystems packs.


The cameras pack has three or four cameras which all have their uses but the one we’re after is the Multipurpose Camera Rig. That has a script called the AutoCam which will target a transform to follow and about which to rotate. So moving your mouse or controller stick will allow rotation about the target, similar to Grand Theft Auto.
Characters includes the Third Person Character Controller which has everything we need to run around in a scene and which we will be using to get near a vehicle and enter it.
Cross Platform Input has some input utilities which we might need because of built-in dependencies in the Unity Standard Assets pack.
Vehicles contains the Car prefab which has the CarController and CarUserControl scripts which we’ll be using in this project to get in and out of vehicles.

This will sound like a joke but Unity’s own Standard Assets pack imports with an error. The error has existed for years and they haven’t done anything to fix it except include a compiler directive (pragma ignore error number [#]) which doesn’t work.
You need to double-click directly on the error in the console to enter the script which generates the error.
We are going to replace the GUIText class with a UnityEngine.UI.Text class and that will clear everything up.


Once that error is fixed, the editor will finish importing all the packages you selected and will compile the scripts.
At this point we can get a ground plane into the scene. Right-click in the hierarchy tab and add a 3D/Plane object to the scene. Right click on the plane’s Transform component in the inspector and click “Reset” to place it at the origin.
Go to the scale component of the plane’s Transform and set the x and z components to 10. The plane is a 10 by 10 meter plane and this will scale it by 10 (so it’ll be 100m x 100m).
Next, in your project folder you’ll see the Standard Assets folder and double-click that to view its subfolders. You’ll see all the sub packages that you imported. In the Cameras folder, go to Prefabs and then drag and drop the Multipurpose Camera Rig into the scene. If you have Gizmos activated, you’ll see the camera icon wherever you dropped the camera in the scene. However, because cameras are invisible, the only thing you’ll see is the gizmo.
Now go to the Characters folder and enter the Prefabs sub folder; double-click the Third Person folder and drag and drop the ThirdPersonCharacter prefab onto the plane. Make sure you’re grabbing the Third Person Controller and not the AI third person controller. The former has plug and play user controls already on it so when you enter Play mode, you can already move around. If you do press Play, the camera rig might automatically target the character and follow it around. If that doesn’t happen, click on the camera rig in the Hierarchy tab and look at the AutoCam component. It’ll have a “Target” field into which you’ll drag and drop the Third Person Character. Now your camera should follow the character around.
Let’s adjust the values on the Camera Rig before going further.
Gaming Center
Gaming center adalah sebuah tempat atau fasilitas yang menyediakan berbagai perangkat dan layanan untuk bermain video game, baik di PC, konsol, maupun mesin arcade. Gaming center ini bisa dikunjungi oleh siapa saja yang ingin bermain game secara individu atau bersama teman-teman. Beberapa gaming center juga sering digunakan sebagai lokasi turnamen game atau esports.
